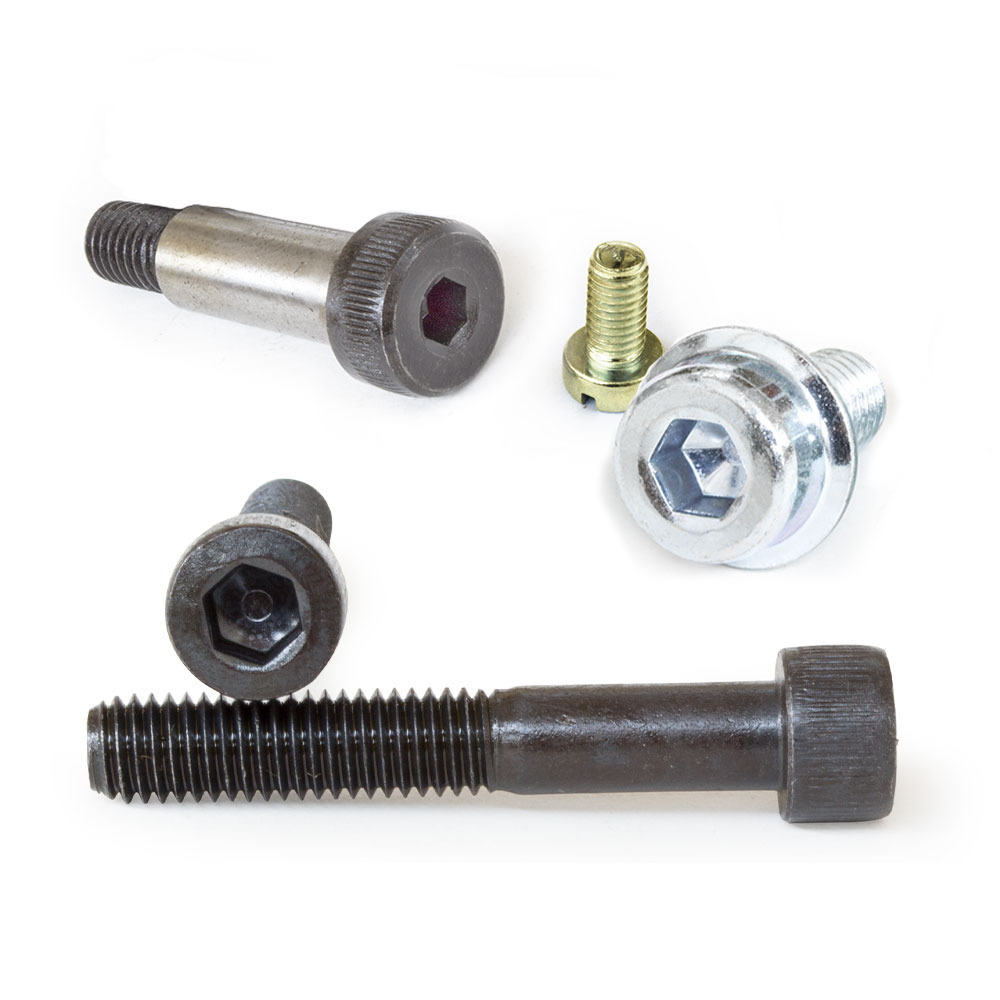
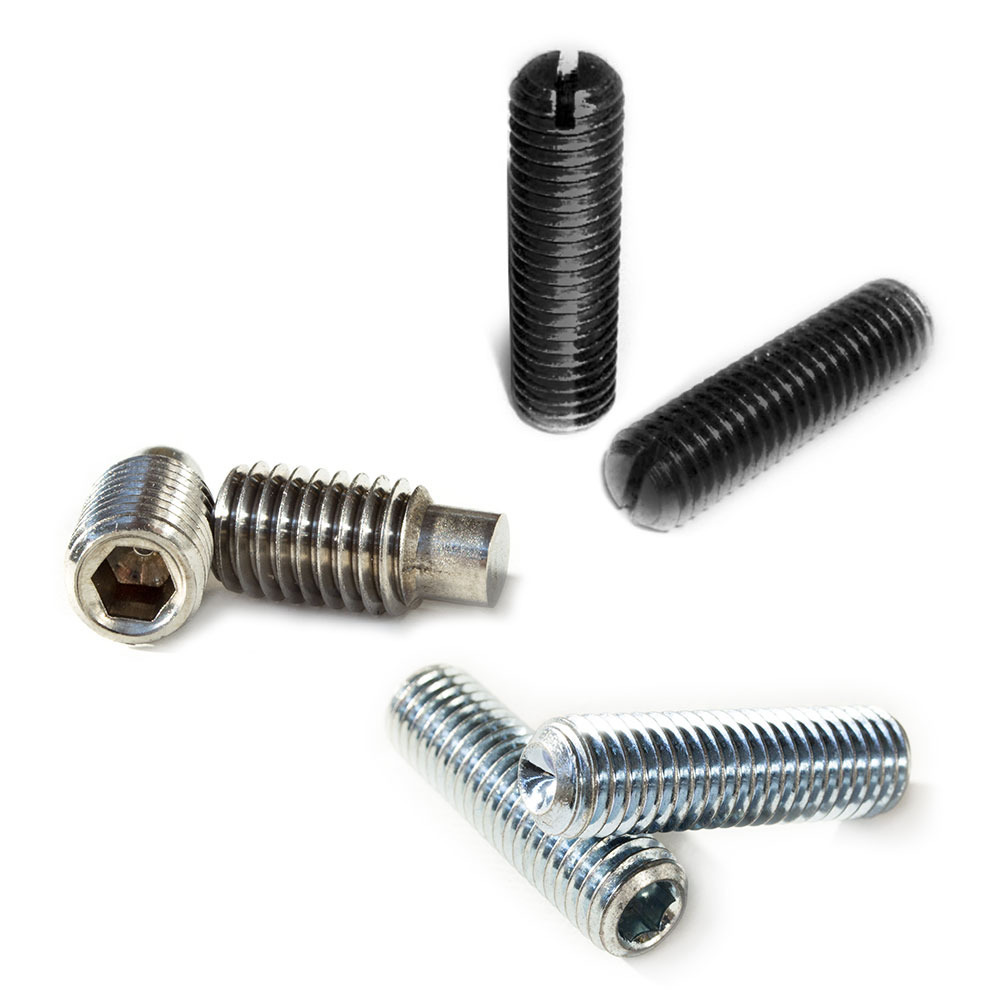
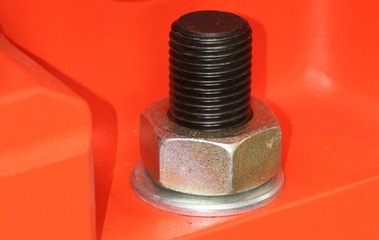
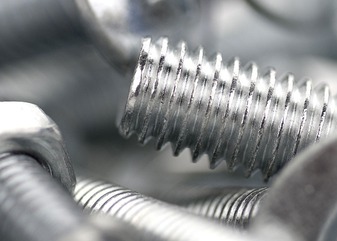
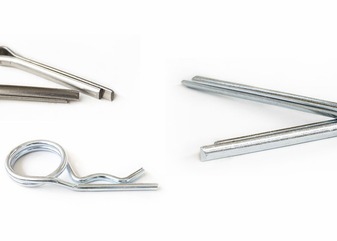
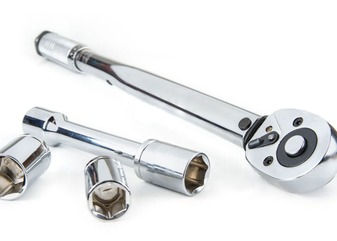
A screw is a threaded element used to fasten objects together. Used with a movement that converts circular motion into linear motion, screws are chosen based on their main application, thus the material they will be fastened to and the threading.
Among the fundamental criteria to consider for the correct choice of this element are the dimensions of the screws, hence their measurement.
To choose the right product and have the necessary material available, it is important to know the measurements of the screws and, above all, how to measure a screw.
Where is the diameter of a screw measured?
To correctly measure a screw, the first step is to know which elements to consider:
- Diameter: the width of the screw expressed in mm (for example, a 3mm screw diameter will be described with the symbol M3);
- Length: expressed in mm, is measured from under the head of the screw to the end of the element. The only exception is for countersunk head screws for which the head is also measured.
- Screw pitch: the distance between the threads, expressed in mm.
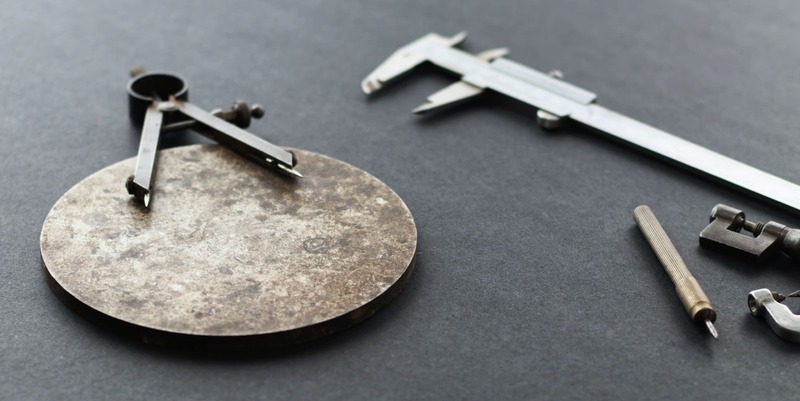
Given the vast array of products on the market and the necessary precision for choosing the element, the correct measurement of the screw can be done using a specific tool: the caliper.
How to measure a screw with the caliper?
The caliper is the technical tool that facilitates the measurement of screws. It consists of three parts:
- The jaws, the fixed part of the tool with which the length or diameter is measured;
- The slider, the movable part of the device characterized by a graduated scale;
- The depth rod, used to measure depth.
To correctly measure the diameter, the screw should be inserted lengthwise, up to reaching the base of the head by inserting the entire threaded part (figure 1). At this point, it is necessary to rotate the micrometer knob until it clicks. Now, proceed with reading the value that the tool returns.
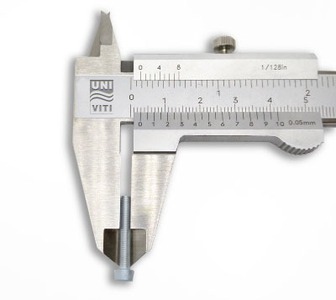
Figure 1. Measuring the diameter with the caliper
It is important to keep in mind that the diameter read on the tool is always less than the nominal diameter of the screw, so the value should always be rounded up (for example, if the value read on the tool is 1.95 mm, the nominal diameter will be 2mm). To measure the depth of the screws, only the length of the thread, i.e., the part that will be screwed, should be measured using the depth rod (Figure 2).
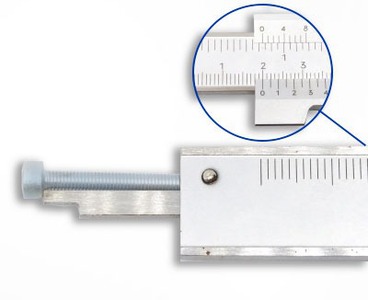
Figure 2. Measuring the length with the depth rod
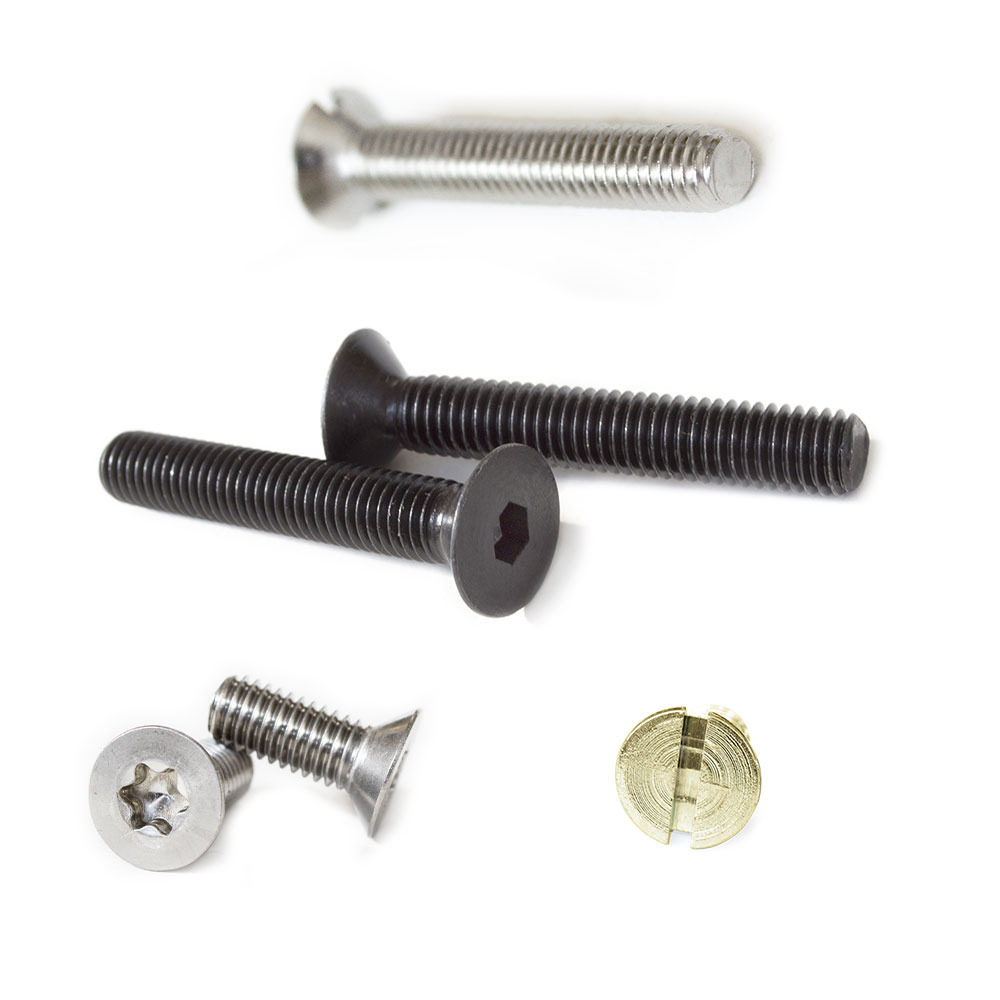
This procedure, as previously mentioned, does not apply to countersunk head screws. For these, since it is necessary to consider also the head itself, the depth is measured by inserting the element between the two jaws (Figure 3).
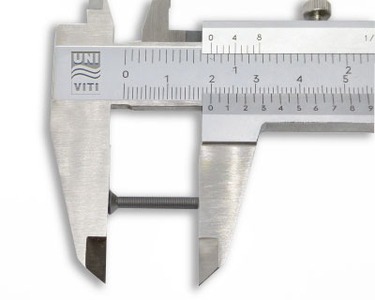
Figure 3. Measuring the length of flat countersunk head screws
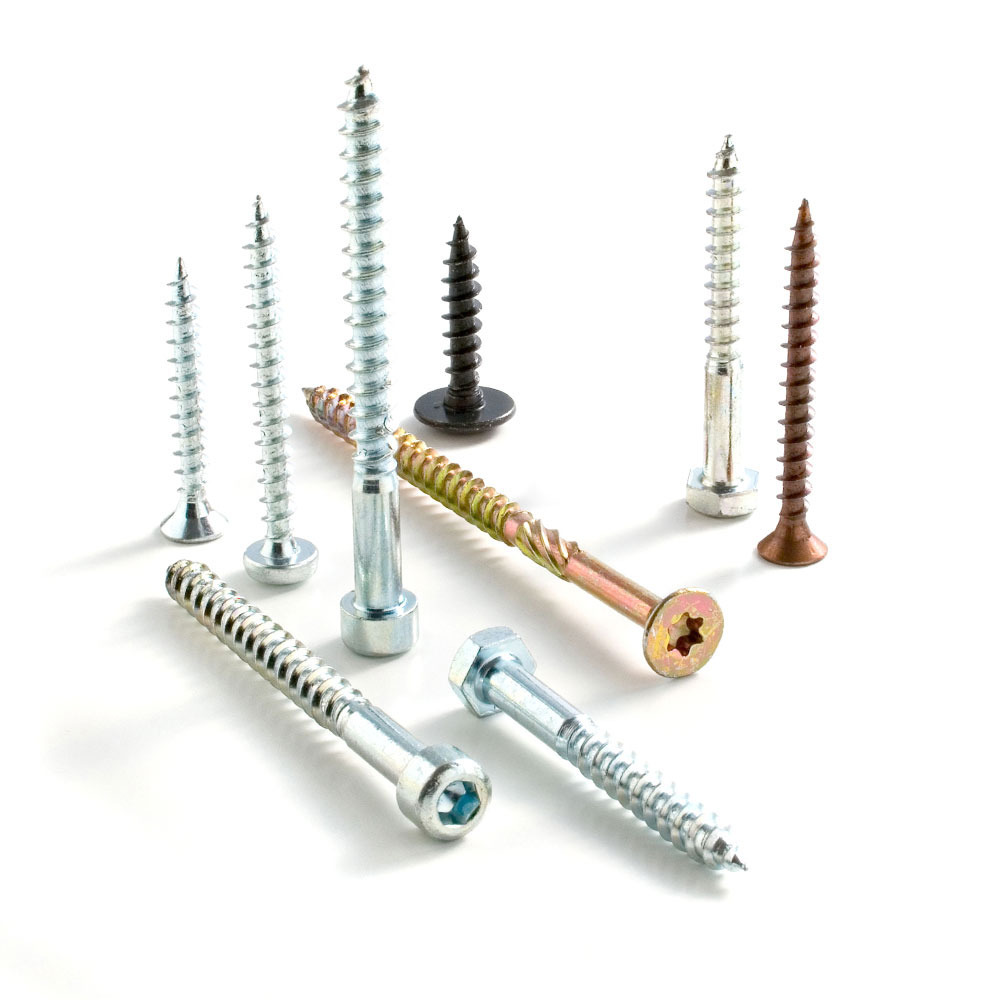
Special attention deserves the measurement of wood screws. In this case, it is important to ensure to insert the screw lengthwise, only up to the threaded part (Figure 4). Thus, the caliper will return the correct diameter value.
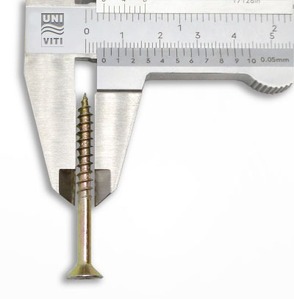
Figure 3. Measuring the diameter of wood screws
How to read the dimensions of screws?
The size of the screw is generally indicated in the same way. In detail:
- The initial letter indicates the type of threading (for example, “M” for metric threading);
- The first number indicates the value of the outer diameter of the screw (expressed in mm);
- The second number indicates the length of the screw (expressed in mm).
For example, an M3 x 20 screw will be an element with a diameter of 3 mm and a length of 20mm.
Concerning the length of the screw, therefore its depth, this should be chosen based on the field of application and the elements to be assembled.
Thanks to the use of technical tools like the caliper, once all the necessary indicators are obtained, the choice will undoubtedly be simpler and, consequently, the application of the element as well.
For more useful advice on how to measure a screw, subscribe to our newsletter.
You can contact us at commerciale@univiti.it to request a quote.
 Added to quote